Set up your first project
Setup your first runnable ScrewBox project.
Screenshots and examples in this documentation will use IntelliJ IDEA. But of course you can use your ide of choice.
Project setup
Create a new project in your Java IDE.
Make sure you use Java 21 or a newer version.
Add the dependency to screwbox-core to your project (Maven or Gradle).
Maven
<dependency>
    <groupId>dev.screwbox</groupId>
    <artifactId>screwbox-core</artifactId>
    <version>3.25.0</version>
</dependency>
Gradle
implementation group: 'dev.screwbox', name: 'screwbox-core', version: '3.25.0'
Create a new class which will be used as the starter of your game and add a main-method.
Create a new instance of the ScrewBox engine using ScrewBox.createEngine().
You can also specify a name for your engine.
Start the engine.
Your code will look something like the code below.
This is your first app using ScrewBox. Congrats!
public static void main(String[] args) {
    Engine screwBox = ScrewBox.createEngine("Hello World");
    screwBox.start();
}
Adding content
When you start your application a black window will open.
Not very impressive right now.
To finish your hello world application we will now add a particle effect.
The setup of your engine will always happen before executing the .start() method.
Content in ScrewBox is added via the so called Environment.
The Environment is a container for an entity component system.
What this means and how to use it will be explained in this article
For now we will simply enable all capabilities of ScrewBox via calling .enableAllFeatures() and adding an entity.
The entity is just a data container which will be automatically processed by the features previously enabled.
In this case we will add four components to create the particle effect:
TransformComponentsets the position and size of theEntityCursorAttachmentComponentbinds the position of theEntityto the cursor.ParticleEmitterComponentemits particles from theEntityParticleInteractionComponentallows theEntityto move the emitted particles by moving the cursor
The code will look something like this:
public class HelloWorld {

    public static void main(String[] args) {
        Engine screwBox = ScrewBox.createEngine("Hello world");

        screwBox.environment()
            .enableAllFeatures()
            .addEntity(
                new TransformComponent(),
                new CursorAttachmentComponent(),
                new ParticleEmitterComponent(Duration.ofMillis(100), ParticlesBundle.CONFETTI),
                new ParticleInteractionComponent(40, Percent.max()));

        screwBox.start();
    }
}
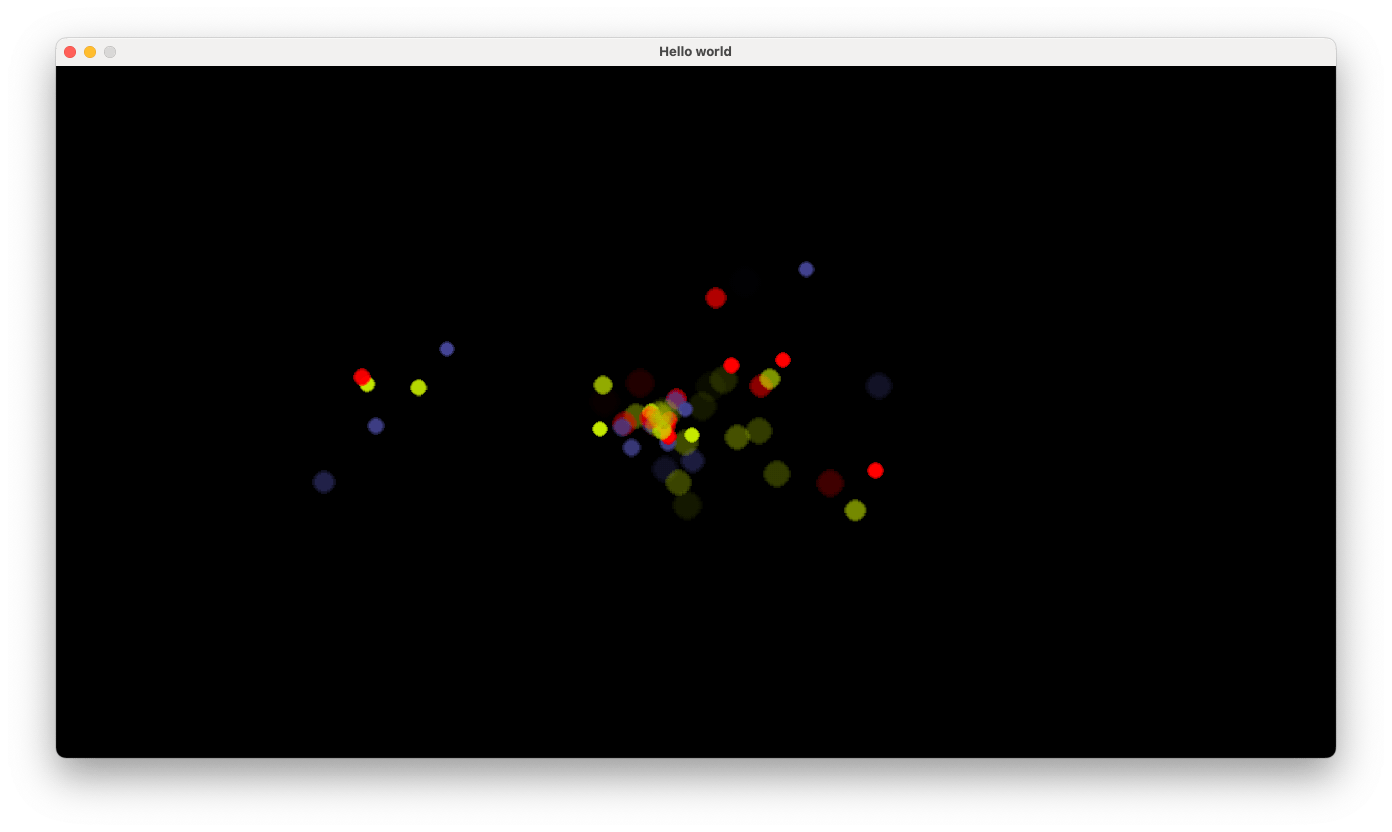
And this is your code in action:
Rendering API
Java can use different rendering APIs on different operation systems and hardware. The rendering API is the actual way Java brings graphic content to your screen. There is a bunch of system properties to enable different rendering APIs. Sadly not all APIs can be specified explicitly and the actual API used cannot be enforced.
| Rendering API | Operation System | Notes |
|---|---|---|
| software | all | Is very slow and should be avoided. |
| OpenGl | all (deprecated on MacOs) | A lot faster than software mode. On MacOs Metal should be the preferred option. |
| Direct3D | Windows | Not available on other operation system. Due to lack of test systems I have no experience with Direct3D. |
| Metal | MacOs | Preferred option on MacOs because of best performance. Not available on other systems. Currently affected by JDK-8371679. |
If you are experiencing bad performance this might be rooted by the wrong rendering API. ScrewBox tries its best to specify the recommended API itself on application start. If it fails you can also specify the rendering API of choice.
Engine engine = ScrewBox.createEngine("My Game", RenderingApi.OPEN_GL);
MacOs specific topics
Full screen mode
On MacOs Systems you you might notice that your console will contains a warning about full screen mode.
09:47:35 [WARNING] Please run application with the following JVM option to add full MacOs support: --add-opens=java.desktop/com.apple.eawt=ALL-UNNAMED
09:47:35 [INFO   ] 'Hello world' started using engine version 0.0.0 (dev-mode)
09:47:37 [INFO   ] engine stopped after running for 1s, 787ms and rendering 212 frames
Sadly on MacOs you have to specify a JVM option to allow full screen support. Otherwise switching to full screen mode will throw an exception. To set the JVM options when running your application go to RunConfigurations → Modify options → Add VM Options. This will make the warnings disappear.

Error messages in console
MacOs users will also experience some red error messages like these below from time to time. You can simply ignore those. They won't affect your application. Also these come and go with os and JDK updates. And other open source project experience them as well. Unfortunately there is currently no way to hide these. It's recommended to update your JDK to the most recent supported version to minimize the frequency of these messages.
2025-01-25 09:47:35.498 java[2300:79574] +[IMKClient subclass]: chose IMKClient_Modern
2025-01-25 09:47:35.498 java[2300:79574] +[IMKInputSession subclass]: chose IMKInputSession_Modern